Rate website

 Rate website
How to cast Dental Cast and Dental Cast Cherry PRO?
Introduction
HARZ Labs Dental Cast Cherry resin is an excellent material for crown casting and porcelain pressing. Correct post-processing and annealing regimes ensure consistent, high-quality results.

Model printing
One of the main factors affecting the quality of the castings is the model printing process. With the right settings, the model is printed to the required dimensions, ensuring a precise fitting and high surface detail.
You can use the settings from our website as a starting point. And for exposure time calibration use our test.
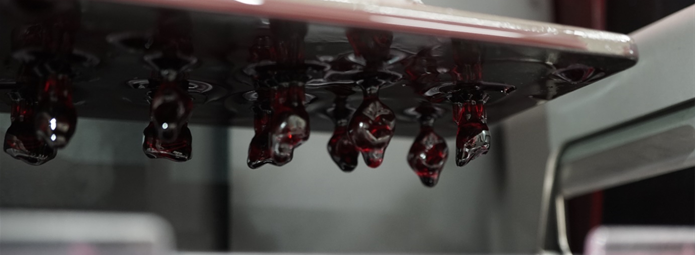
Printed crowns from HARZ Labs Dental Cast Cherry resin
Post-processing
No less important is the post-processing of the models. It allows to maintain the model geometry and obtain the required physical and mechanical properties.
The post-processing consists of washing models in alcohol, blowing with compressed air, heating in a dry-heat oven, and final curing in a UV station. You can find the post-processing recommendations on our website.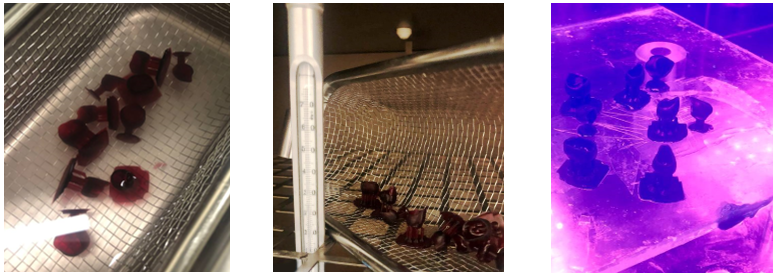
Washing in alcohol Heating in dry-heat oven Final Curing
Checking the fitting of the models.

Crowns from HARZ Labs Dental Cast, model from HARZ Labs Dental Peach
Creating cast gates
After printing and post-processing , the correct cast gates system must be created. You can use casting wax to create these, it has good adhesion to the printed models. After soldering the cast gates is complete, it is advisable to use a wax stress reliever.
It is important to follow the basic rules:
- All parts of the casting must be in equal conditions during casting;
- All thick-walled casting sections must have an additional liquid metal depot to eliminate shrinkage shells, friability and porosity in the metal;
- The hottest metal must be brought to the thin sections of the castings
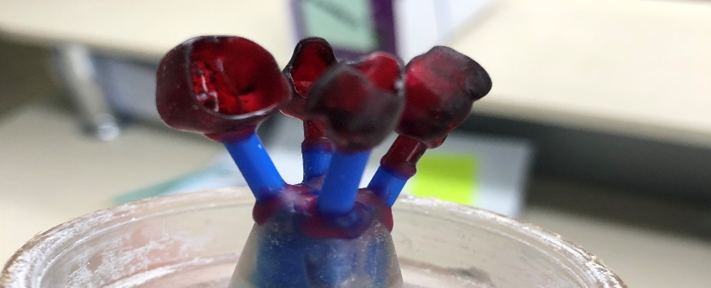
Installation of wax cast gates
Preparation of the molding compound
The next step is the preparation of the molding compound. In this case, Gilvest HS molding compound was used. The concentration of the mixture is selected strictly according to the instructions of the manufacturer of the compound, after adding the liquid, it is recommended to mix the mass manually, and only then place it in the vacuum mixer. This is to ensure that the dry mixture will not be inhausted in by the vacuum pump before mixing begins.

Manual molding compound mixing process Mixing molding compound in a vacuum mixer
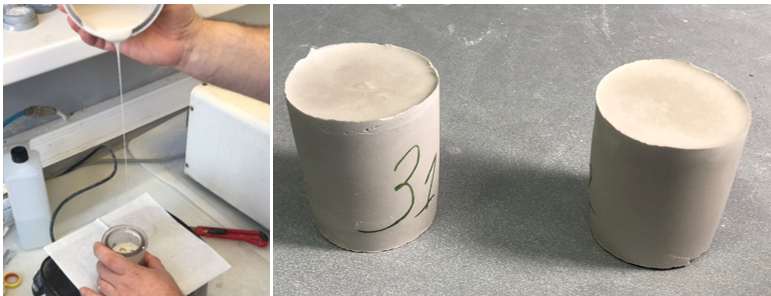
Casting the molding compound into the molds
When the pouring is complete, allow the compound to harden, on average about 30 minutes, and then the casting box can be placed in a cold furnace. It is recommended to place the casting box with the hole downward.
Heat treatment
The oven can be heated at the highest possible speed to 950 degrees and hold for the time recommended by the manufacturer of the mass, but not less than 50 minutes.
It is important to note that the heating time is also affected by the number of casting boxes in the oven. For example, 50 minutes is sufficient for one casting box, but for 4 you need 2 hours of curing time. It is recommended to place the casting box with the hole downward.

Casting box in the oven
Casting
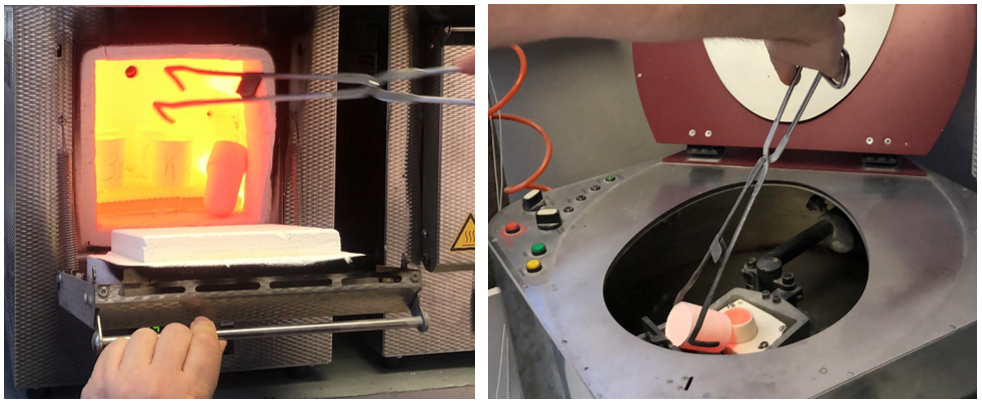
Annealing process Cast in the centrifugal casting machine
Model extraction
A small chisel or light hammer is used to remove the cast structure from the casting box. A pneumatic hammer for unpacking casting box can be used to speed up this process.
Molding compound and the oxide layer firmly adhered adhering to the casting surface are removed manually or automatically. In addition, special sand with a grain size of 250 microns is used at a working pressure of 4-6 atmospheres (manually) or 5-6 atmospheres (in automatic mode).
With a special high-pressure automatic sandblaster, a completely clean surface of model is achieved.

Unpacking Cleaning surface
Correct adherence to the technology allows for excellent casting quality and the most accurate dimensions. The high surface quality means minimal finishing is required.
Finished casting

